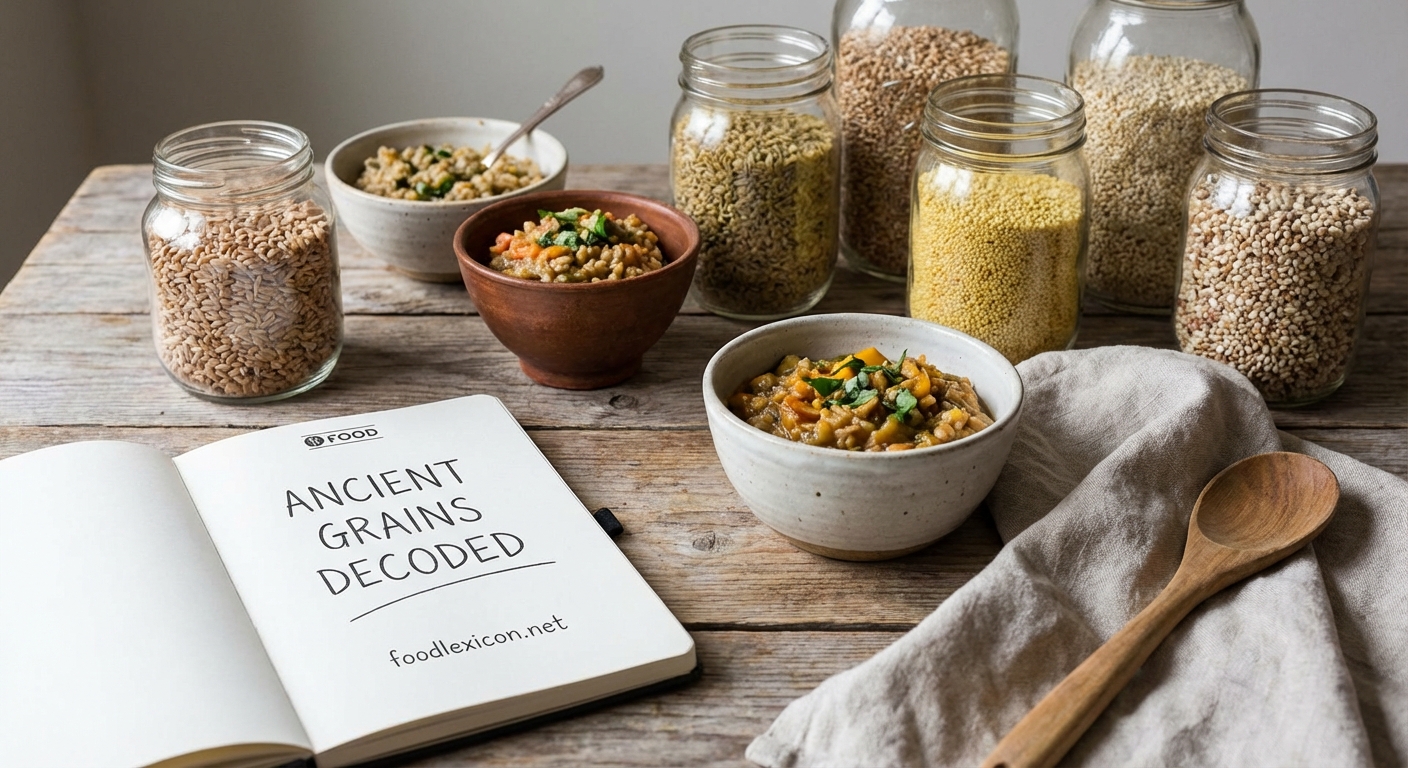
Ancient grains have moved from health food stores to mainstream kitchens, and for good reason. These nutrient-dense staples offer more flavor, texture, and nutrition than refined grains. But standing in front of a bag of freekeh or farro can feel intimidating if you’ve never cooked them before.
Ancient grains like farro, freekeh, quinoa, and millet cook using simple absorption or boiling methods. Most require a 2:1 or 3:1 water-to-grain ratio and take 15 to 40 minutes depending on variety. Rinsing, toasting, and proper seasoning transform these whole grains from bland to flavorful. Once you master basic techniques, you can substitute ancient grains into salads, soups, and side dishes with confidence.
Understanding Ancient Grain Varieties
Ancient grains refer to seeds and cereals that have remained largely unchanged for thousands of years. Unlike modern wheat, which has been bred for specific traits, these grains retain their original genetic makeup.
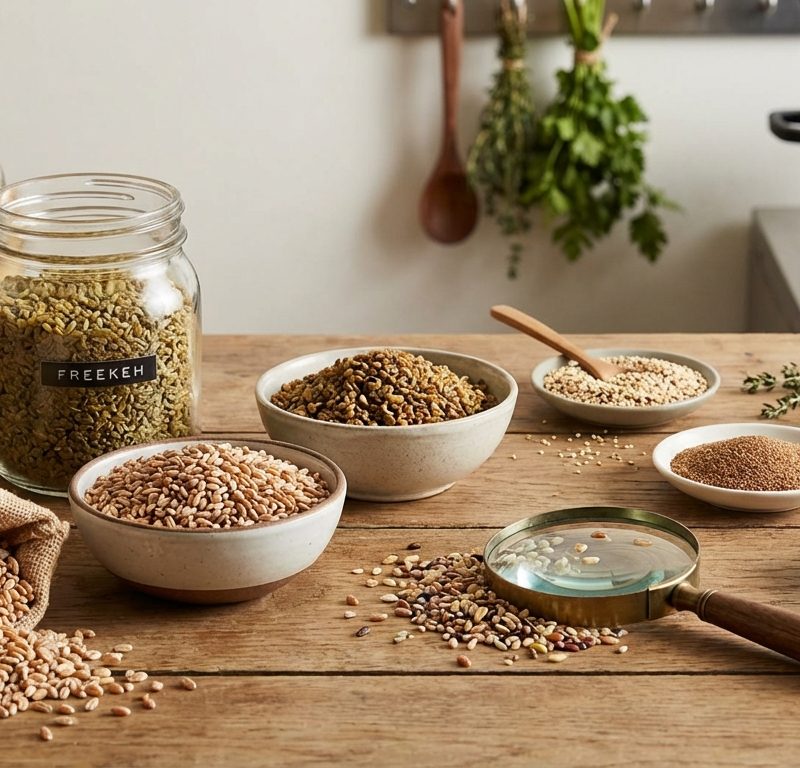
Farro comes in three varieties. Farro piccolo (einkorn), farro medio (emmer), and farro grande (spelt) each have different cooking times. Most grocery stores carry emmer farro, which takes about 25 to 30 minutes to cook.
Freekeh is young green wheat that’s been roasted and cracked. The roasting process gives it a distinct smoky, nutty flavor. You’ll find it in whole grain or cracked forms, with cracked freekeh cooking much faster.
Quinoa technically isn’t a grain at all. It’s a seed from a plant related to beets and spinach. Red, white, and black quinoa all cook similarly, though red and black varieties hold their shape better in salads.
Amaranth produces tiny seeds that become slightly sticky when cooked. This texture works well for porridge or as a thickener for soups.
Millet looks like tiny yellow beads. Toast it before cooking to bring out its sweet, corn-like flavor.
Teff seeds are so small that 3,000 of them equal the weight of one wheat kernel. Ethiopian cooks grind it into flour for injera bread, but you can cook whole teff as a hot cereal.
The Basic Cooking Method for Most Ancient Grains
Most ancient grains follow a simple absorption method. You’ll use this technique for farro, freekeh, quinoa, and many others.
- Rinse the grains in a fine-mesh strainer under cold water.
- Combine grains and liquid in a pot with a tight-fitting lid.
- Bring to a boil over high heat.
- Reduce heat to low, cover, and simmer until tender.
- Remove from heat and let stand covered for 5 to 10 minutes.
- Fluff with a fork before serving.
The rinsing step removes dust, debris, and bitter compounds. Quinoa especially benefits from thorough rinsing because it naturally contains saponins that taste soapy.
Salt your cooking liquid generously. Grains absorb seasoning as they cook, so undersalting at this stage means bland results. Use about 1/2 teaspoon of salt per cup of dry grain.
Letting grains rest after cooking allows them to finish absorbing moisture evenly. Skipping this step often leaves you with wet, unevenly cooked grains.
Water Ratios and Cooking Times
Different grains need different amounts of liquid. This table shows standard ratios for common ancient grains.
| Grain | Water Ratio | Cooking Time | Yield from 1 Cup Dry |
|---|---|---|---|
| Farro (pearled) | 2:1 | 20-25 min | 2.5 cups |
| Farro (whole) | 3:1 | 35-40 min | 2.5 cups |
| Freekeh (cracked) | 2:1 | 15-20 min | 3 cups |
| Freekeh (whole) | 2.5:1 | 40-45 min | 3 cups |
| Quinoa | 2:1 | 15 min | 3 cups |
| Amaranth | 3:1 | 20 min | 2.5 cups |
| Millet | 2.5:1 | 20-25 min | 3.5 cups |
| Teff | 3:1 | 15-20 min | 3 cups |
Pearled or semi-pearled grains have some of their outer bran removed. They cook faster than whole grain versions but contain slightly less fiber.
Altitude affects cooking times. At elevations above 3,000 feet, you’ll need to add more water and extend cooking times by 5 to 10 minutes.
Hard water can also slow cooking. If your tap water is very hard, consider using filtered water for more consistent results.
Toasting Grains for Better Flavor
Toasting grains before cooking adds depth and complexity. This step takes just a few minutes but makes a noticeable difference.
Heat a dry skillet over medium heat. Add your rinsed, drained grains and stir frequently. You’ll smell a nutty aroma and see the grains turn slightly golden. This usually takes 3 to 5 minutes.
Transfer toasted grains immediately to your cooking pot. They’ll continue cooking in the residual heat of the pan if you leave them too long.
You can also toast grains in a bit of oil or butter. This method works especially well for millet and quinoa. Use about 1 tablespoon of fat per cup of dry grain.
Toast ancient grains the same way you would nuts or spices. The dry heat releases aromatic compounds and creates new flavors through the Maillard reaction. This simple step transforms good grains into great ones.
Common Mistakes and How to Avoid Them
Overcooking turns grains mushy. Set a timer and start checking for doneness a few minutes before the recommended time. Grains should be tender but still have a slight bite.
Lifting the lid too often releases steam and disrupts cooking. Resist the urge to check on your grains every few minutes. Trust the process and only lift the lid once near the end of cooking.
Using too little water leaves you with crunchy, undercooked grains. Too much water creates a soupy mess. Measure carefully, especially when you’re learning.
Skipping the rest period after cooking is a mistake many people make. Those final minutes off the heat allow grains to absorb remaining moisture and firm up slightly.
Not adjusting seasoning after cooking means missed opportunities for flavor. Taste your cooked grains and add more salt, pepper, or acid as needed.
Cooking Ancient Grains Like Pasta
Some grains work well with the pasta method, where you use abundant water and drain the excess. This approach works particularly well for farro and whole freekeh.
Bring a large pot of salted water to a boil. Use about 6 cups of water per cup of grain. Add your grains and cook uncovered, stirring occasionally.
Start testing for doneness about 5 minutes before the recommended time. Bite into a few grains to check texture.
When the grains reach your desired tenderness, drain them in a fine-mesh strainer. You can save the cooking liquid for soup stock if you want.
Rinse with cold water if you’re using the grains in a cold salad. Skip the rinse for hot dishes.
This method gives you more control over texture. You can cook grains al dente for salads or softer for soups and stews.
Flavoring Your Cooking Liquid
Plain water works fine, but other liquids add extra flavor. Vegetable or chicken stock creates a savory base for grain bowls and side dishes.
Coconut milk makes amaranth or teff taste rich and slightly sweet. Use a 1:1 ratio of coconut milk to water to avoid overwhelming the grains.
Adding aromatics to your cooking liquid infuses subtle flavors. Try these combinations:
- Bay leaves and garlic for farro
- Cinnamon stick and cardamom for millet
- Lemon zest and thyme for quinoa
- Ginger and scallions for freekeh
Remove whole spices and aromatics before serving. They’ve done their job once the grains finish cooking.
You can also cook grains in tea. Green tea works well with delicate grains like quinoa. Black tea complements the smokiness of freekeh.
Storing and Reheating Cooked Grains
Cooked ancient grains keep well in the refrigerator for up to 5 days. Let them cool completely before transferring to an airtight container.
Spread grains in a thin layer on a baking sheet to cool them faster. This prevents them from sitting in their own steam, which can make them gummy.
Freeze cooked grains for up to 3 months. Portion them into 1 or 2 cup amounts so you can thaw only what you need.
Reheat refrigerated grains in the microwave with a splash of water or stock. Cover the container and heat in 30-second intervals, stirring between each.
For stovetop reheating, add grains to a pan with a tablespoon or two of liquid. Cover and warm over medium-low heat, stirring occasionally.
Frozen grains can go straight from freezer to pan. Add a bit more liquid and extra time to heat them through.
Using Ancient Grains in Everyday Meals
Cooked ancient grains substitute easily for rice, pasta, or other starches. Keep a batch in your fridge for building weekly meal plans with ingredients you already have.
Add cooked farro or freekeh to soups during the last few minutes of cooking. They’ll absorb flavors while maintaining their texture.
Cold grain salads benefit from grains cooked al dente. Toss them with vinaigrette while still slightly warm so they absorb the dressing.
Use amaranth or teff as a breakfast porridge. Cook with milk instead of water and top with fruit, nuts, and honey.
Stuff vegetables with seasoned cooked grains. Bell peppers, tomatoes, and squash all work well.
Mix cooked grains into meatballs or veggie burgers as a binder. They add nutrition and help hold everything together.
Layer cooked grains in parfait glasses with yogurt and fruit for a different take on breakfast.
Pressure Cooker and Rice Cooker Methods
Electric pressure cookers cut cooking times significantly. Use the same water ratios but reduce cooking time by about half.
For an Instant Pot or similar device, use the manual or pressure cook setting. Set the time based on your grain type:
- Farro: 10 minutes
- Whole freekeh: 20 minutes
- Quinoa: 1 minute
- Millet: 10 minutes
Let pressure release naturally for 10 minutes, then manually release any remaining pressure.
Rice cookers work well for most ancient grains. Use the same water ratios as stovetop cooking. The white rice setting works for quinoa and millet. Use the brown rice setting for farro and whole freekeh.
Some rice cookers have a specific grain or porridge setting. Experiment with your machine to find what works best.
Troubleshooting Texture Problems
Grains turned out too firm? Add 1/4 cup of water and cook for 5 more minutes. Check again and repeat if needed.
Mushy grains can’t be fixed, but you can repurpose them. Blend them into soup for body and nutrition. Mix them into baked goods like muffins or bread. Form them into patties and pan-fry until crispy.
Sticky grains usually mean you used too much water or cooked them too long. Next time, reduce liquid by 1/4 cup and check for doneness earlier.
Dry, separated grains that won’t clump together actually indicate perfect cooking for salads. If you want a creamier texture for porridge, add more liquid and cook longer.
Some grains naturally have more or less starch. Amaranth and teff become creamy and slightly sticky no matter what. Quinoa and millet stay light and fluffy.
Making Ancient Grains Part of Your Routine
Start with one or two grains that appeal to you. Master those before moving on to others.
Cook a large batch on Sunday to use throughout the week. Plain cooked grains adapt to whatever flavors you want.
Keep your pantry stocked with several varieties. Different grains suit different dishes, and having options prevents boredom.
Buy from stores with good turnover. Ancient grains can go rancid because of their healthy oils. Store them in airtight containers in a cool, dark place.
Whole grains last longer than cracked or pearled versions. If you won’t use them within a few months, store them in the freezer.
Label containers with the cooking time and water ratio. This saves you from looking it up every time.
Bringing Ancient Grains to Your Table
Cooking ancient grains doesn’t require special equipment or culinary training. You need a pot, water, and about 30 minutes. The techniques you use for rice work just as well for farro, freekeh, and their cousins.
Start tonight with one grain. Toast it if you have time. Use the right water ratio. Salt your cooking liquid. Let it rest after cooking. These simple steps will give you perfectly cooked grains that make your meals more interesting and nutritious. Once you’ve cooked a few batches, you’ll develop an intuition for timing and texture that makes the process second nature.