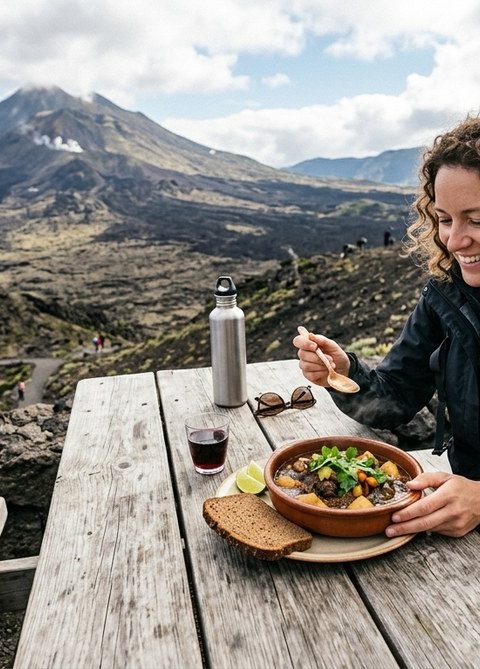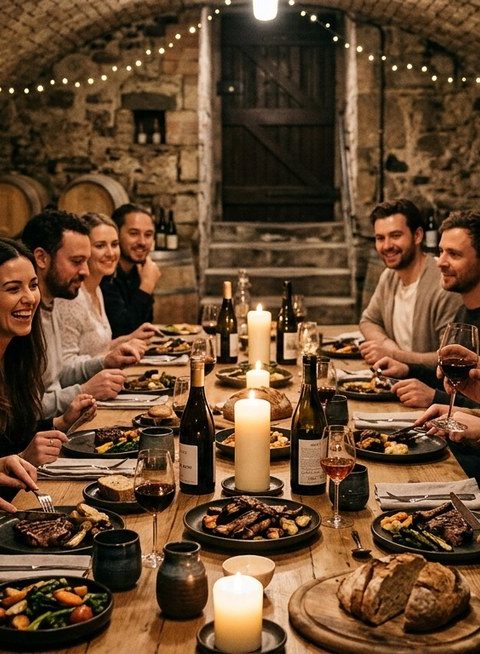
Picture this: your power goes out during a winter storm, or you are miles from the nearest kitchen on a camping trip. The sun is beating down, the ground beneath you radiates warmth, and you have a stick and a piece of wood. Believe it or not, you can cook a hot meal without a single burner or oven. Learning how to cook without a stove is a survival skill, a sustainable choice, and a way to connect with ancient cooking traditions. In 2026, more Americans are turning to off-grid methods for peace of mind, lower energy bills, and a deeper appreciation for food preparation.
You can cook a full meal without a stove using three nature powered methods: solar heat, geothermal warmth, and friction. Each requires different gear and technique, but all are reliable for off-grid cooking. Solar ovens work best on sunny days. Geothermal pits use the earth’s steady heat. Friction fire is the oldest human cooking method. Master one, and you never worry about a broken stove again.
The Basics of Off-Grid Cooking
Cooking without a stove is not about deprivation. It is about using alternative energy sources that are free, renewable, and always available. The three main categories are solar, geothermal, and friction heat. Each method transforms raw ingredients into meals through simple physics.
Solar cooking uses sunlight to trap heat. Geothermal cooking uses the stable temperature of the ground. Friction cooking uses movement to create fire. All three can produce temperatures high enough to boil water, bake bread, or roast meat.
The key is matching the method to your environment and your meal. A solar oven does not work at night. Geothermal pits require hours of prep. Friction fire takes practice. But once you learn the skills, you can cook anywhere.
Solar Cooking: Harnessing the Sun
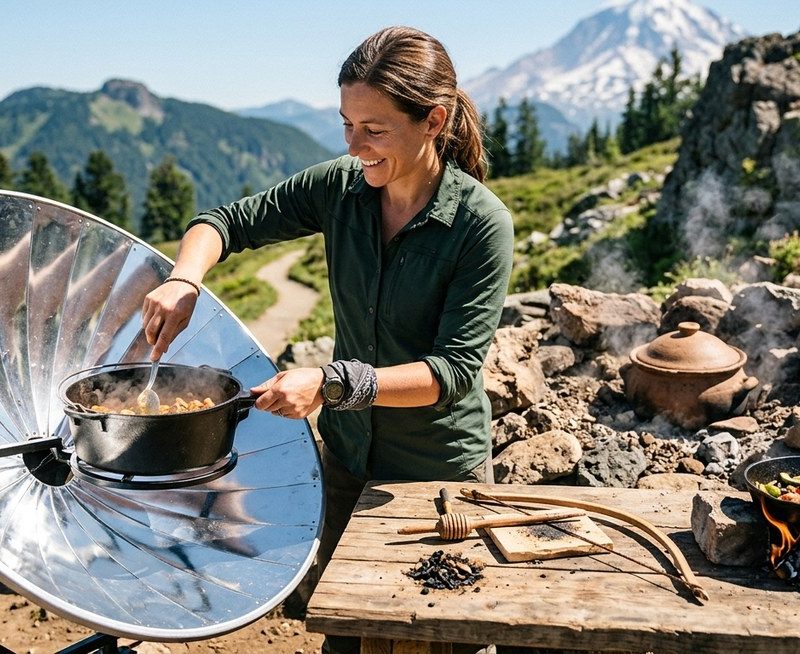
Solar cooking is the most accessible stoveless method for most people. You need direct sunlight and a way to concentrate it. The simplest design is a cardboard box lined with aluminum foil. More advanced options include parabolic dishes or vacuum tube cookers.
Types of Solar Cookers
| Cooker Type | Temperature Range | Best For | Time Needed |
|---|---|---|---|
| Box cooker | 180 to 300 °F | Stews, rice, beans, baked goods | 2 to 4 hours |
| Parabolic dish | 400 to 700 °F | Frying, boiling, grilling | 10 to 30 minutes |
| Panel cooker | 200 to 280 °F | Slow cooking, soups, vegetables | 3 to 5 hours |
| Vacuum tube | 250 to 400 °F | All purpose, works in partial clouds | 1 to 3 hours |
The table shows that solar cooking is not a one size fits all approach. A box cooker is great for a pot of chili on a sunny Saturday. A parabolic dish can sear a steak in minutes but needs constant adjustment.
Step-by-Step Solar Cooking Process
- Choose your cooker based on the meal and sunlight. For a simple test, use a cardboard box cooker.
- Line the inside with reflective material (aluminum foil or a reflective emergency blanket).
- Place a dark colored pot with your food inside. Dark pots absorb more heat.
- Cover the box with a clear glass or plastic lid to trap heat.
- Position the cooker so it faces the sun directly. Adjust every 30 minutes as the sun moves.
- Monitor temperature with a thermometer. Most solar cookers need 2 to 4 hours to reach serving temperature.
- Serve and enjoy. Remember the food will stay hot for a while after removing from the sun.
"I have been solar cooking for over a decade. The key is patience. You cannot rush the sun. But when you pull out a perfectly baked loaf of bread from a cardboard box, it feels like magic." — Janet C., off-grid homesteader
Solar cooking works best between 10 a.m. and 2 p.m. in most locations. In 2026, new portable solar cookers are lighter and more efficient than ever. Some models fold down to the size of a laptop.
Geothermal Cooking: Using Earth's Heat
Geothermal cooking taps into the constant temperature of the ground. It is not about hot springs or volcanoes. It is about digging a pit and letting the earth do the work. This method is ancient. Indigenous cultures worldwide have cooked in earth ovens for thousands of years.
How Geothermal Cooking Works
A geothermal pit oven uses heated rocks and layers of vegetation to create a stable cooking environment. The ground insulates the heat, so food cooks slowly and evenly. This method is ideal for large cuts of meat, root vegetables, and whole fish.
Practical Methods for Geothermal Cooking
- Pit oven: Dig a hole about two feet deep. Line it with fire resistant stones. Build a fire on top of the stones and let it burn for an hour. Remove the ash and place food wrapped in leaves or foil on the hot stones. Cover with dirt and wait 4 to 6 hours.
- Ground heat exchanger: If you have a geothermal heat pump for your home, you can use the underground loop to heat water. That water can then pre heat a cooking vessel. This is more of a high tech off grid setup.
- Earth bag cooking: Fill a cloth bag with preheated stones and place it in a insulated container. Bury the container in the ground. The earth holds the heat for hours. This works for slow cooking rice or beans.
Geothermal methods require digging and a heat source to start. They are not instant. But they use no fuel once the initial fire is lit. The earth itself becomes your oven.
Friction Heat Cooking: Fire from Motion
Friction cooking is the oldest way to cook without a stove. Rub two sticks together and you get fire. Then you cook over the flames. It is a skill that takes practice but pays off when you have no matches or lighter.
Primitive Techniques
The most common friction fire method is the hand drill. You spin a wooden spindle against a wooden fireboard using your hands. The friction creates dust that ignites into a coal. You transfer that coal to a tinder bundle and blow it into flames.
- Bow drill: Uses a bow to spin the spindle faster with less effort. This is the most reliable primitive method.
- Fire plow: Rubbing a stick along a groove in a softwood board. Works best in dry climates.
- Pump fire drill: A modern adaptation with a plunger that compresses air and creates heat.
Modern Friction Tools
Today you can buy devices that generate heat through friction without the learning curve of the hand drill. Examples include the UCO Fire Starter, which uses a metal striker on a ferrocerium rod, or a classic flint and steel. These are not pure friction but produce sparks that start a fire.
Once you have fire, you can cook in many ways:
- Skewer meat on a green stick and hold it over the flames.
- Boil water in a metal cup placed directly on hot coals.
- Bake flatbread on a hot rock next to the fire.
- Create a spit roaster with two forked sticks and a straight branch.
Friction cooking requires wood gathering and fire management. It is not as clean as solar or geothermal. But it is the most reliable backup method for any survival situation.
Common Mistakes to Avoid
| Mistake | Why It Fails | The Fix |
|---|---|---|
| Using a shiny pot in a solar cooker | Shiny surfaces reflect heat away | Use a matte black pot |
| Not preheating geothermal rocks | Rocks need to be hot enough to cook | Burn the fire for at least 45 minutes |
| Spinning a bow drill too slowly | Not enough friction to create coal | Increase speed and pressure |
| Opening the solar cooker too often | Heat escapes and cooking slows | Only check every 30 minutes |
| Burying food in a pit without leaves | Dirt sticks to the food | Wrap in banana leaves, foil, or wet parchment |
| Using wet wood for friction fire | Moisture prevents ignition | Find dry, dead wood (dead standing is best) |
These mistakes are common for beginners. The table helps you avoid them. Each method has a learning curve, but the rewards are worth it.
Building Your Stoveless Cooking Kit
You do not need a truckload of gear. A well prepared stoveless cooking kit fits in a daypack. Here is what we recommend:
- A solar panel cooker (folds flat)
- A dark metal pot with a lid
- A fire starter (ferro rod or lighter as backup)
- A pocket knife or multi tool
- Aluminum foil (for wrapping and reflecting)
- A small shovel or trowel for pit digging
- A water bottle (for drinking and boiling)
Add these to your emergency go bag or camping gear. You can also include a small backpacking stove as a bridge method, but the goal is to rely only on natural heat.
If you want to expand your off-grid culinary skills, check out our guide on foraging for wild edibles to pair with your stoveless cooking. And for meal planning without electricity, our article on batch cooking without burnout offers strategies that work even with limited heat sources.
Why These Skills Matter in 2026
We live in a time of frequent power outages, rising fuel costs, and a growing desire to live more simply. Knowing how to cook without a stove is not a party trick. It is a genuine lifeline. In 2026, more families are investing in solar ovens for summer cooking to keep their homes cool. Geothermal pits are being rediscovered by permaculture enthusiasts. Friction fire classes are popping up at outdoor stores.
These methods also connect us to our food in a way a gas range never can. When you build a fire with your own hands and cook a meal using the sun or the earth, you appreciate every bite. Plus, you save money on energy bills and reduce your carbon footprint.
Your First Stoveless Meal
Let us walk through a simple first project. On a sunny afternoon, try a box cooker solar meal. You need a cardboard box, foil, clear plastic wrap, a dark pot, and 2 cups of rice plus water. Set up the cooker as described earlier. Place the pot inside and close the lid. Leave it in direct sun for three hours. Check after two hours. The rice should be tender and fluffy. Serve with a can of beans heated in a second pot.
This meal proves that stoveless cooking is real. From there you can graduate to a pit roast or a friction fire steak. Each success builds confidence. And in an emergency, that confidence could feed your family.
Now go outside. Pick a sunny spot. Dig a small pit or find a dry stick. Start your stoveless cooking journey today.